Build Your First Telegram Bot With Python: A Comprehensive Tutorial
Learn how to create a powerful Telegram bot using Python for free. This step-by-step tutorial covers everything from API setup to deployment for your custom Telegram bot.

TeleClaw Team
June 28, 2026
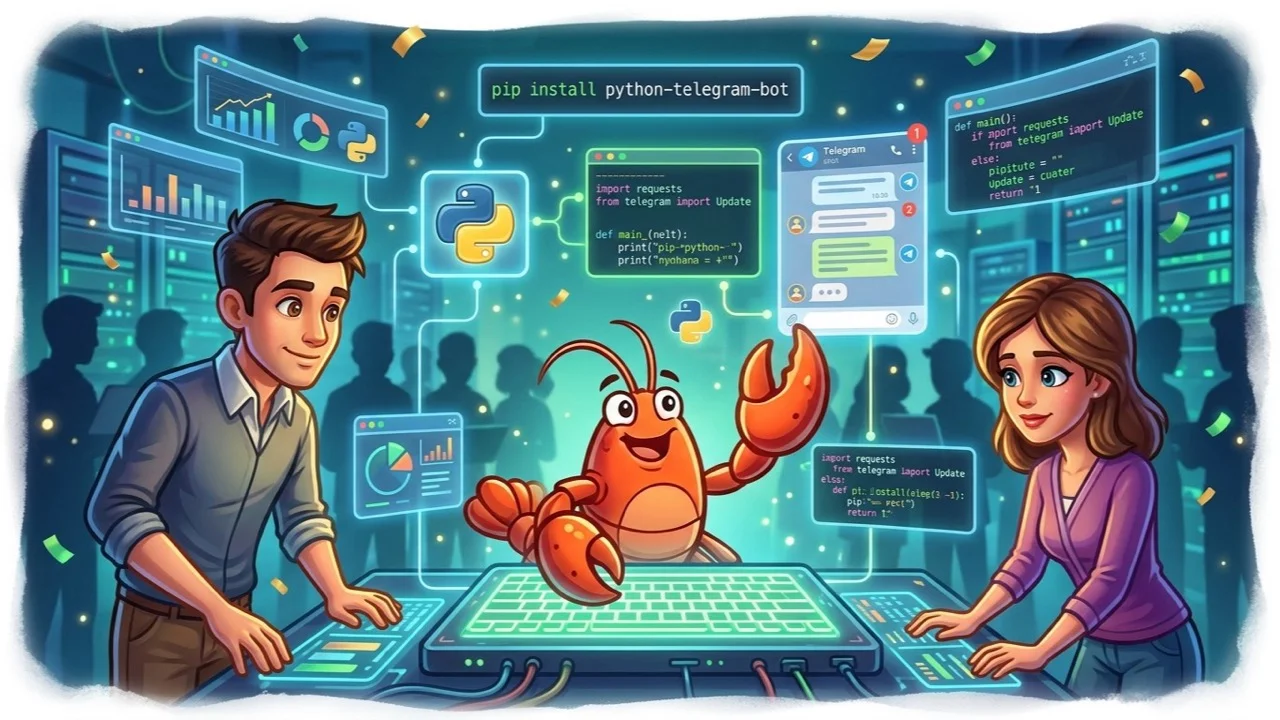
Building a custom Telegram bot with Python offers immense flexibility and power. Whether you’re looking to automate tasks, create interactive services, or simply experiment with Telegram’s robust API, Python is an excellent choice for its simplicity and extensive libraries. In this comprehensive guide, we’ll walk you through the entire process of creating your first Telegram bot Python project, from setting up your development environment to writing functional code and deploying your bot.
Python’s readability and the active community supporting the python-telegram-bot library make it a fantastic entry point for both beginners and experienced developers. By the end of this tutorial, you’ll have a fully operational Telegram bot ready to interact with users.
Key Takeaways
- You’ll learn how to register your bot with BotFather and obtain an API token.
- We’ll cover setting up your Python development environment and installing necessary libraries.
- You’ll write code to handle basic commands and messages.
- We’ll explore how to add more sophisticated features to your bot.
- You’ll understand the basics of deploying your Telegram bot Python application.
1. Setting Up Your Telegram Bot and Development Environment
Before diving into code, you need to set up your bot on Telegram and prepare your Python environment.
1.1 Creating Your Bot with BotFather
The first step for any Telegram bot is to register it with BotFather, Telegram’s official bot for managing other bots.
- Open Telegram and Search for @BotFather: In your Telegram app, search for “@BotFather” and start a chat. Make sure it’s the official one with a blue verified badge.
- Start the Bot Creation Process: Type
/newbotand send the message. - Choose a Name: BotFather will ask for a name for your bot. This is the human-readable title that users will see (e.g., “My Awesome Bot”).
- Choose a Username: Next, pick a unique username for your bot. This must end with “bot” (e.g.,
my_awesome_bot). If the username is taken, BotFather will ask you to try another one. - Receive Your API Token: Once successful, BotFather will provide you with an HTTP API token. This token is crucial, as it acts like a password for your bot. Keep it secure and never share it publicly. It will look something like
123456:ABC-DEF1234ghIkl-zyx57W23L1qR_456.
1.2 Installing Python and pip
If you don’t already have Python installed, download the latest stable version from the official Python website (https://www.python.org/downloads/). During installation, ensure you check the box that says “Add Python to PATH” for easier command-line access.
pip is Python’s package installer, and it usually comes pre-installed with Python. You can verify your Python and pip installations by opening your terminal or command prompt and typing:
python --version
pip --version
1.3 Installing the python-telegram-bot Library
The python-telegram-bot library is a popular and robust wrapper for the Telegram Bot API. It simplifies interactions with the API, making it much easier to develop your bot.
Install it using pip:
pip install python-telegram-botYou’ve now successfully set up your bot and development environment. Let’s move on to writing some code!
2. Your First Telegram Bot Python Code: The Echo Bot
We’ll start with a classic: an echo bot. This bot will simply repeat any message it receives. This simple example teaches you the core concepts of handling messages.
2.1 Importing Necessary Modules
Create a new Python file (e.g., my_telegram_bot.py) and start by importing the required components from the telegram library.
from telegram import Update
from telegram.ext import Application, CommandHandler, MessageHandler, filters
import logging
import osUpdate: Represents an incoming update from Telegram (e.g., a new message, a command).Application: The main class that manages your bot’s lifecycle.CommandHandler: Used to register handlers for specific commands (e.g.,/start,/help).MessageHandler: Used to register handlers for various types of messages (text, photos, etc.).filters: Provides convenient filters to specify which messages aMessageHandlershould respond to.logging: Good practice for debugging and understanding your bot’s behavior.os: To securely load your API token from environment variables.
2.2 Setting Up Logging
Logging is essential for troubleshooting. Add the following lines to your script:
# Enable logging
logging.basicConfig(
    format="%(asctime)s - %(name)s - %(levelname)s - %(message)s", level=logging.INFO
)
logger = logging.getLogger(__name__)
2.3 Defining Our Handlers
Handlers are functions that process incoming updates.
start command handler:
This function will be called when a user sends the /start command.
async def start(update: Update, context):
    """Sends a welcome message when the command /start is issued."""
    user = update.effective_user
    await update.message.reply_html(
        f"Hi {user.mention_html()}! I'm an echo bot. Send me anything!",
        # reply_markup=ForceReply(selective=True), # Optional: force reply to this message
    )
echo message handler:
This function will echo back any text message it receives.
async def echo(update: Update, context):
    """Echoes the user message."""
    await update.message.reply_text(update.message.text)
help_command handler:
A simple help command.
async def help_command(update: Update, context):
    """Sends a help message."""
    await update.message.reply_text("Send me any message, and I'll echo it back!")
2.4 The main Function: Bringing it all Together
The main function is where we initialize our bot, register handlers, and start polling for updates.
def main() -> None:
    """Start the bot."""
    # Get the API token from environment variables (BEST PRACTICE!)
    # Alternatively, you can hardcode it here for quick testing: TOKEN = "YOUR_TELEGRAM_BOT_TOKEN"
    TOKEN = os.environ.get("TELEGRAM_BOT_TOKEN")

    if not TOKEN:
        raise ValueError("TELEGRAM_BOT_TOKEN environment variable not set.")

    # Create the Application and pass it your bot's token.
    application = Application.builder().token(TOKEN).build()

    # Register handlers
    application.add_handler(CommandHandler("start", start))
    application.add_handler(CommandHandler("help", help_command))
    application.add_handler(MessageHandler(filters.TEXT & ~filters.COMMAND, echo))

    # Run the bot until the user presses Ctrl-C
    application.run_polling(allowed_updates=Update.ALL_TYPES)


if __name__ == "__main__":
    main()
2.5 Running Your Bot Locally
-
Set Your API Token as an Environment Variable:
- Linux/macOS:
export TELEGRAM_BOT_TOKEN="YOUR_API_TOKEN_HERE" - Windows (Command Prompt):
set TELEGRAM_BOT_TOKEN="YOUR_API_TOKEN_HERE" - Windows (PowerShell):
$env:TELEGRAM_BOT_TOKEN="YOUR_API_TOKEN_HERE"Alternatively, for quick local testing, you can replaceos.environ.get("TELEGRAM_BOT_TOKEN")with your actual token string directly in the code (e.g.,TOKEN = "123456:ABCDEF..."), but it is not recommended for production.
- Linux/macOS:
-
Run Your Python Script: Navigate to the directory where you saved
my_telegram_bot.pyin your terminal and run:python my_telegram_bot.py -
Interact with Your Bot: Open Telegram, search for your bot’s username (e.g.,
@my_awesome_bot), and start a chat. Try sending/start,/help, or any text message. Your bot should respond!
Congratulations! You’ve just created and run your first Telegram bot Python application.
3. Adding More Advanced Features
An echo bot is cool, but let’s make it more useful. Here are ideas for expanding your Telegram bot.
3.1 Handling Different Message Types
Besides plain text, Telegram supports photos, videos, documents, and much more. You can use filters to specifically handle these.
Example: Responding to photos
async def handle_photo(update: Update, context):
    """Responds to a photo with a confirmation message."""
    # You can access photo details via update.message.photo
    # The list contains different sizes of the same photo; the last one is usually the largest.
    photo_file_id = update.message.photo[-1].file_id
    await update.message.reply_text("Nice photo! I received it.")

# Add this handler in your main function
# application.add_handler(MessageHandler(filters.PHOTO, handle_photo))
3.2 Using Inline Keyboards and Reply Keyboards
Keyboards provide structured interaction options for users.
- Reply Keyboards: Appear above the message input field, effectively replacing the standard keyboard. Great for predefined choices.
- Inline Keyboards: Attached directly to a message, with buttons that can trigger callbacks or open URLs. Ideal for interactive menus.
Example: Inline Keyboard
Let’s modify our /start command to offer buttons.
from telegram import Update, InlineKeyboardButton, InlineKeyboardMarkup
from telegram.ext import Application, CommandHandler, MessageHandler, CallbackQueryHandler, filters
# ... (other imports and logging) ...

async def start(update: Update, context):
    """Sends a welcome message with an inline keyboard."""
    user = update.effective_user
    keyboard = [
        [InlineKeyboardButton("Visit TeleClaw", url="https://teleclaw.bot")],
        [InlineKeyboardButton("About Bot", callback_data="about")],
    ]
    reply_markup = InlineKeyboardMarkup(keyboard)
    await update.message.reply_html(
        f"Hi {user.mention_html()}! Welcome to my bot. What would you like to do?",
        reply_markup=reply_markup,
    )

async def button_callback(update: Update, context):
    """Handles callback queries from inline keyboard buttons."""
    query = update.callback_query
    await query.answer() # Always answer callback queries

    if query.data == "about":
        await query.edit_message_text(text="This is a simple demo bot created with Python and the `python-telegram-bot` library.")
    # Add more conditions for other callback_data values
You would need to update your main function to include the CallbackQueryHandler:
    # ... inside main() ...
    application.add_handler(CommandHandler("start", start))
    application.add_handler(CallbackQueryHandler(button_callback)) # Add this line
    application.add_handler(MessageHandler(filters.TEXT & ~filters.COMMAND, echo))
    # ...
This demonstrates linking to an external site like TeleClaw and performing an action within the bot. You can explore more about different keyboard options in the python-telegram-bot documentation (https://docs.python-telegram-bot.org/en/stable/telegram.keyboardbutton.html).
3.3 Integrating with External APIs
The true power of Telegram bot Python development comes from its ability to integrate with third-party services. You can fetch weather data, current news, translate text, or even integrate with AI models.
Example: Simple API Call (using requests library)
First, install requests: pip install requests.
import requests

async def get_fact(update: Update, context):
    """Fetches a random fact from an external API."""
    try:
        response = requests.get("https://uselessfacts.jsph.pl/api/v2/facts/random")
        response.raise_for_status() # Raise an HTTPError for bad responses (4xx or 5xx)
        fact_data = response.json()
        await update.message.reply_text(f"Did you know? {fact_data['text']}")
    except requests.exceptions.RequestException as e:
        logger.error(f"Error fetching fact: {e}")
        await update.message.reply_text("Sorry, I couldn't fetch a fact right now. Please try again later.")

# Add this command handler:
# application.add_handler(CommandHandler("fact", get_fact))
This demonstrates how a bot could interact with external data sources, just like @claw integrates with various services to provide sophisticated features. For more advanced AI interactions, consider using platforms like TeleClaw, which abstract away the complexities of integrating with models like GPT-4 or Gemini. You can read more about integrating AI tools in our article on how to build a Telegram chatbot.
4. Persistent Data and State Management
For more complex bots, you’ll need a way to store data between interactions. For example, if your bot needs to remember user preferences or ongoing conversations.
4.1 Using context.user_data and context.chat_data
The python-telegram-bot library provides context.user_data and context.chat_data dictionaries (available in your handler functions) that can store temporary data associated with a user or a chat. This data persists for the duration of the bot’s runtime.
async def set_favorite_color(update: Update, context):
    """Allows users to set their favorite color."""
    if context.args:
        color = " ".join(context.args).strip()
        context.user_data["favorite_color"] = color
        await update.message.reply_text(f"Okay, I've noted your favorite color as {color}.")
    else:
        await update.message.reply_text("Please tell me your favorite color, e.g., /setcolor blue")

async def get_favorite_color(update: Update, context):
    """Tells the user their favorite color."""
    color = context.user_data.get("favorite_color")
    if color:
        await update.message.reply_text(f"Your favorite color is {color}.")
    else:
        await update.message.reply_text("I don't know your favorite color yet. Use /setcolor.")

# Add these handlers:
# application.add_handler(CommandHandler("setcolor", set_favorite_color))
# application.add_handler(CommandHandler("getcolor", get_favorite_color))
4.2 Persisting Data Across Restarts
For data to persist even when your bot script restarts, you need a more robust solution, such as:
- Files (CSV, JSON): Simple for small amounts of data.
- Databases (SQLite, PostgreSQL, MongoDB): Recommended for larger, more complex data storage.
SQLiteis a good choice for local development as it’s file-based and requires no separate server. - Third-party storage solutions: Cloud databases like Firestore or DynamoDB.
The python-telegram-bot library also offers BasePersistence classes that can be used with PicklePersistence or DictPersistence to save user_data, chat_data, and bot_data to a file. Refer to the official python-telegram-bot examples for how to use persistence (https://docs.python-telegram-bot.org/en/stable/telegram.ext.basepersistence.html).
5. Deployment Considerations
Running your bot on your local machine is fine for development, but for it to be accessible 24/7, you need to deploy it to a server.
5.1 Polling vs. Webhooks
There are two primary ways a Telegram bot receives updates:
- Long Polling: Your bot repeatedly asks Telegram servers for new updates. This is what we used with
application.run_polling(). Simple to set up but can be resource-intensive for very active bots. - Webhooks: You tell Telegram the URL of your server. When an update occurs, Telegram sends an HTTP POST request to that URL. More efficient for production, but requires a publicly accessible server and handling HTTPS.
For simple bots and initial development, long polling is sufficient. For production, webhooks are generally preferred. The python-telegram-bot library supports both.
5.2 Deployment Platforms
Several platforms are suitable for deploying Python bots:
- Heroku: Great for small to medium-sized projects, with a free tier. Easy to deploy with
git. - Render: Similar to Heroku but often with more generous free tiers and modern features.
- AWS (EC2, Lambda), Google Cloud (Compute Engine, Cloud Functions), Azure (App Service, Functions): Offer powerful, scalable solutions but have a steeper learning curve.
- Virtual Private Servers (VPS): Services like DigitalOcean, Linode, Vultr give you more control, but you’re responsible for server management.
When deploying, remember to:
- Keep your API token secure: Use environment variables.
- Install dependencies: Create a
requirements.txtfile (pip freeze > requirements.txt) and ensure your host installs them. - Configure process managers: Tools like
systemdorpm2can keep your bot running even if it crashes.
For commercial applications or highly scalable AI-powered bots, platforms like TeleClaw provide a robust, managed environment. They handle the infrastructure, security, and scaling, allowing you to focus on your bot’s logic and user experience. Check out our detailed guide on Telegram bot for business to see what TeleClaw offers.
Conclusion
You’ve now learned the core principles of building a Telegram bot Python application. From the initial setup with BotFather and environment configuration to writing handlers for commands and messages, handling different data types, and considering deployment strategies, you have a solid foundation. The python-telegram-bot library makes interacting with the Telegram API surprisingly straightforward, opening up a world of possibilities for automation and interaction.
As you become more comfortable, you can explore advanced topics like:
- Conversation handling with
ConversationHandler. - Error handling and robust logging.
- Integrating with databases for complex data storage.
- Utilizing more advanced
filters. - Implementing inline mode for global search capabilities.
Remember, the beauty of Telegram’s openness and Python’s versatility is that you can build almost anything. If you’re looking to elevate your bot with cutting-edge AI, natural language understanding, or seamless integrations without the heavy coding burden, platforms like TeleClaw are designed to empower you.
Ready to build, enhance, or manage your Telegram bots with intelligent automation?
Explore TeleClaw today and supercharge your Telegram bot! or try our bot directly on Telegram: @claw
FAQ
Frequently Asked Questions
What are the basic steps to create a Telegram bot with Python?
Do I need coding experience to follow this Telegram bot Python tutorial?
How can TeleClaw help with my Telegram bot Python project?
More Reading
Keep Reading

Best AI Agents for Business in 2026: A Category-by-Category Guide
The clearest way to compare AI agents for business in 2026: six real categories, honest picks, and where a Telegram-native agent like TeleClaw actually fits.

TeleClaw Cloud Agents: Run a Coding Agent from Telegram
TeleClaw is listed in OpenRouter's cloud-agent category. Learn what a cloud agent does, how 2026 changed the field, and how to run one from Telegram.